Create a rack from a picture Beta

Your rack, from a photo.

Take a photo of your rack or drop a screenshot: Pulsers reads the modules, finds them in its library and builds the rack. You then patch it like any other rack.

Create a rack
From the photo to a patchable rack, in one minute

Two ways to give the picture

Both go through the same analysis. The difference lies in how precise the positions are.

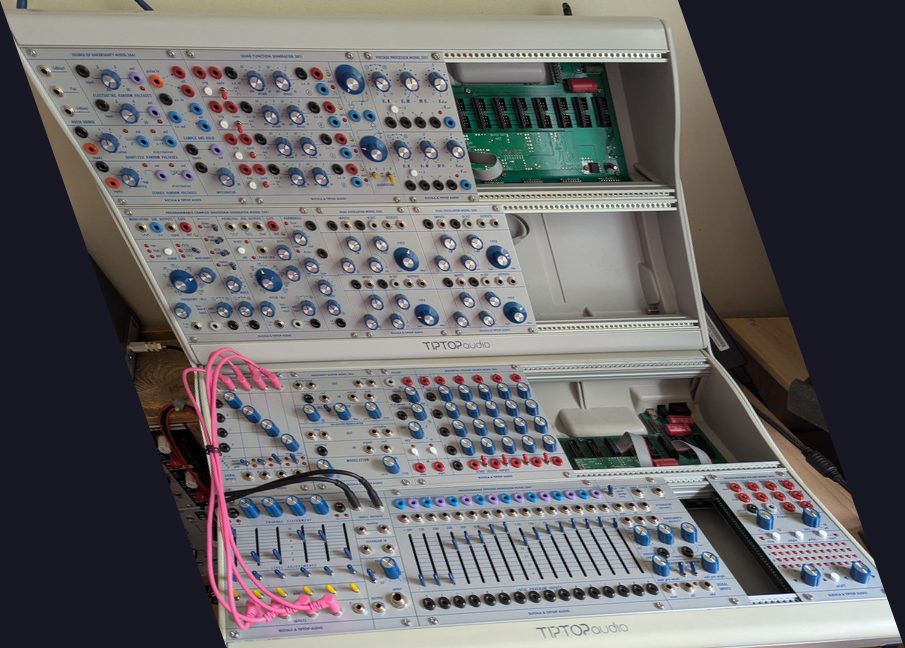
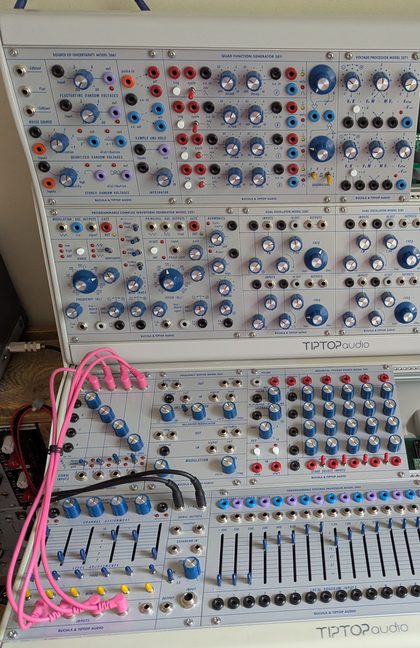
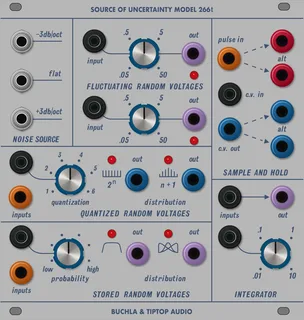
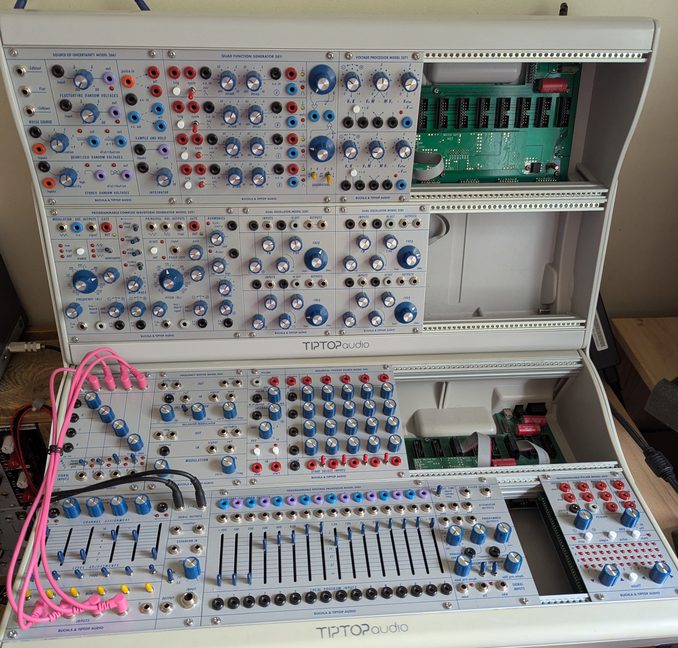
Photo of a Buchla format rack, taken from the front

A photo of your rack

The real rack, taken with a phone. The quickest if you have it at hand.

  • Modules are recognised by the name on their panel.
  • They are placed side by side, without the empty spaces: adjust them in the editor.

Positions to check · on this photo, 11 to 13 modules read out of 13 depending on the run
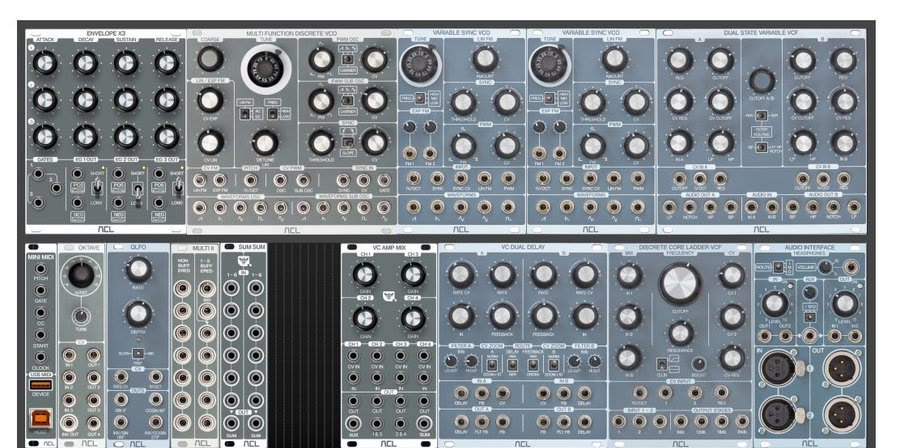
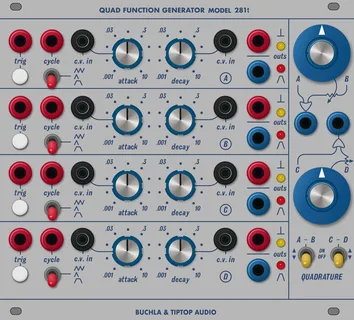
Picture exported from an online rack planner

A screenshot

The picture exported from an online rack planner, a screenshot of your rack, or even a frame from a video where it is seen from the front.

  • A planner export is seen from the front, with no perspective: every module sits at its exact place, and the positions are checked, empty spaces included.
  • A video frame reads like a photo: positions to check.

The most reliable · on this export, 14 modules read out of 14

Getting the photo right

A failed photo costs a credit for an incomplete result. What matters: every name must be readable on the panel.

YesFrom the front, whole rack, sharp.
At an angleNames get distorted, and widths too.
Cut offWhat is outside the frame does not exist for the analysis.
BlurredAn unreadable name becomes a missing module.
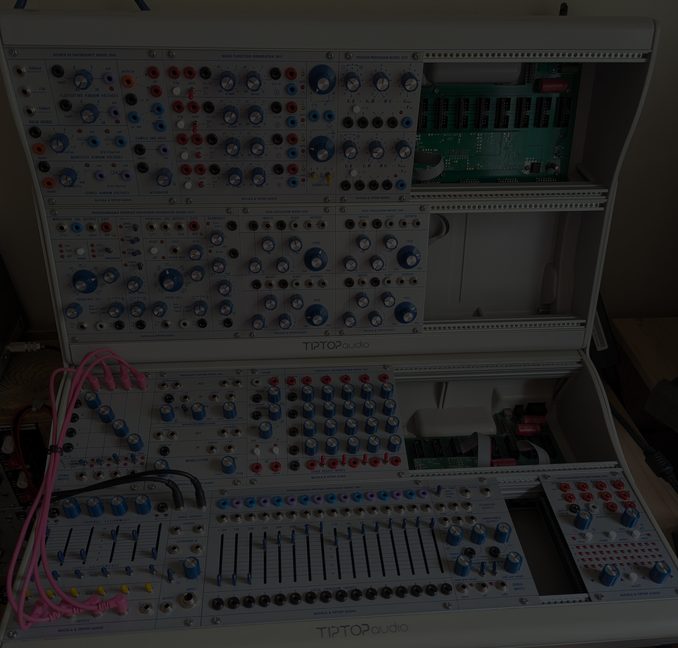
Too darkLight it evenly, with no reflection.
Move the cables asideA cable lying over a name hides it.
Small modulesVery narrow modules (2 to 4 HP) are the ones most often missed: check them in the result.
The fileJPEG, PNG or WebP, up to 10 MB. An iPhone HEIC photo must first be converted to JPEG.

What happens next

You follow the analysis live, then you decide what goes into the rack.

  1. 01

    The analysis

    A few seconds to a minute. The steps light up as they go: picture checked, reading, search in the library, position check.

  2. 02

    The result

    Each recognised module carries a reliability mark. Untick the ones you do not want.

  3. 03

    Missing modules

    A module the library does not know yet is passed to the team to be added. Its place stays empty in your rack.

  4. 04

    Your rack

    Create the rack: it opens in the editor, where you adjust the places, then switch to Patch mode.

Credits

Credits pay for analyses: creating a rack from a photo, or generating a patch. Each photo analysed uses one. A rack built by hand needs none and stays free.

1 credit = 1 analysis Rack by hand always free Given back if it fails on our side Balance in the header and My account

5 analyses 2.00 €
  • To try it on your rack
  • A few analyses, a few tries
Advised 18 analyses 6.00 € −17 %
  • Several racks, or a rack that changes
  • Patches to generate for each
40 analyses 12.00 € −25 %
  • A studio, a workshop, a collective
  • All your racks, and your friends'

Card payment through Stripe · credits do not expire · added as soon as the payment is confirmed.

Questions

What if I leave the page during the analysis?

The analysis goes on. You find it again in “New rack”, From a picture section, and in your credits history, until the rack is created.

My rack has modules Pulsers does not know.

They are listed as missing, passed to the team, and their place stays empty. You can create the rack without them and add them when they reach the library.

The photo was refused when sending it.

The message says why: format (HEIC to convert), weight (over 10 MB) or connection cut. No credit is used before you launch the analysis.